
Last updated November 18, 2026
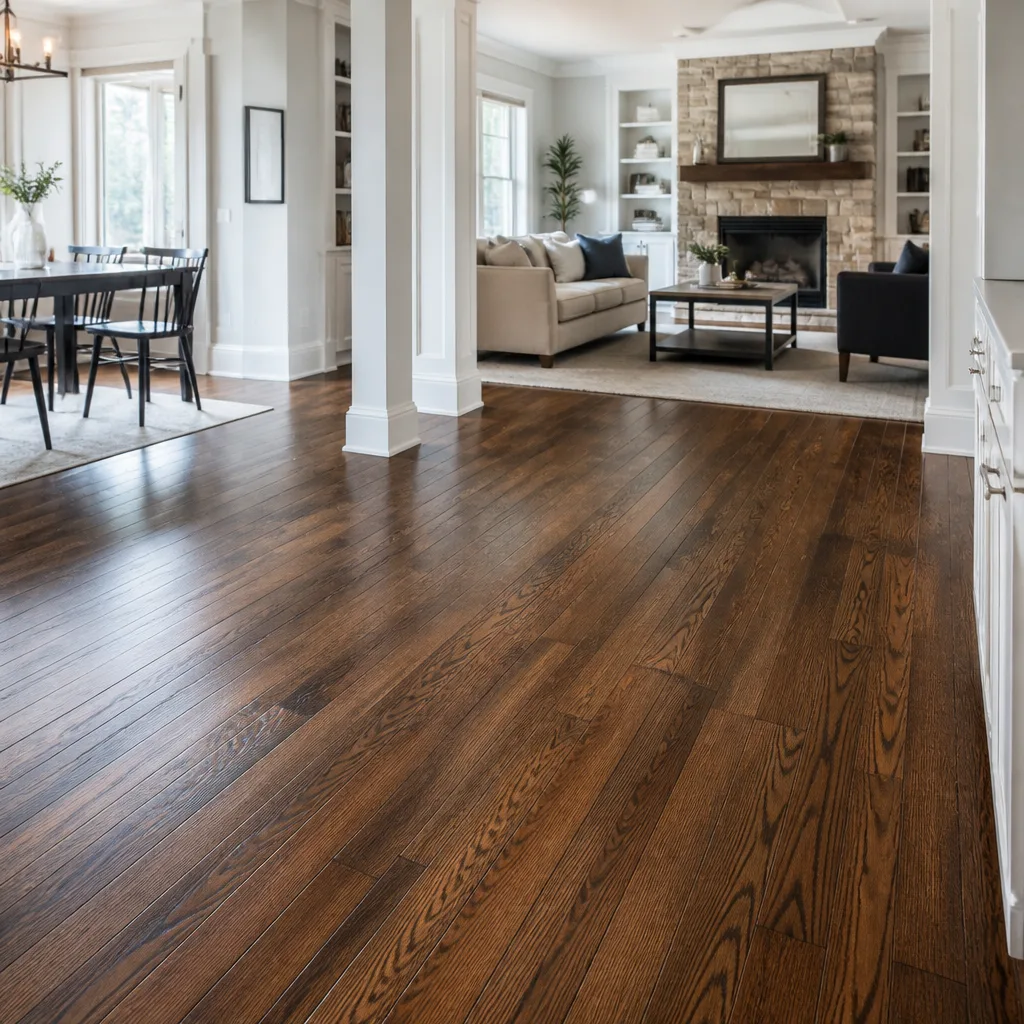 Hardwood
 Engineered hardwood
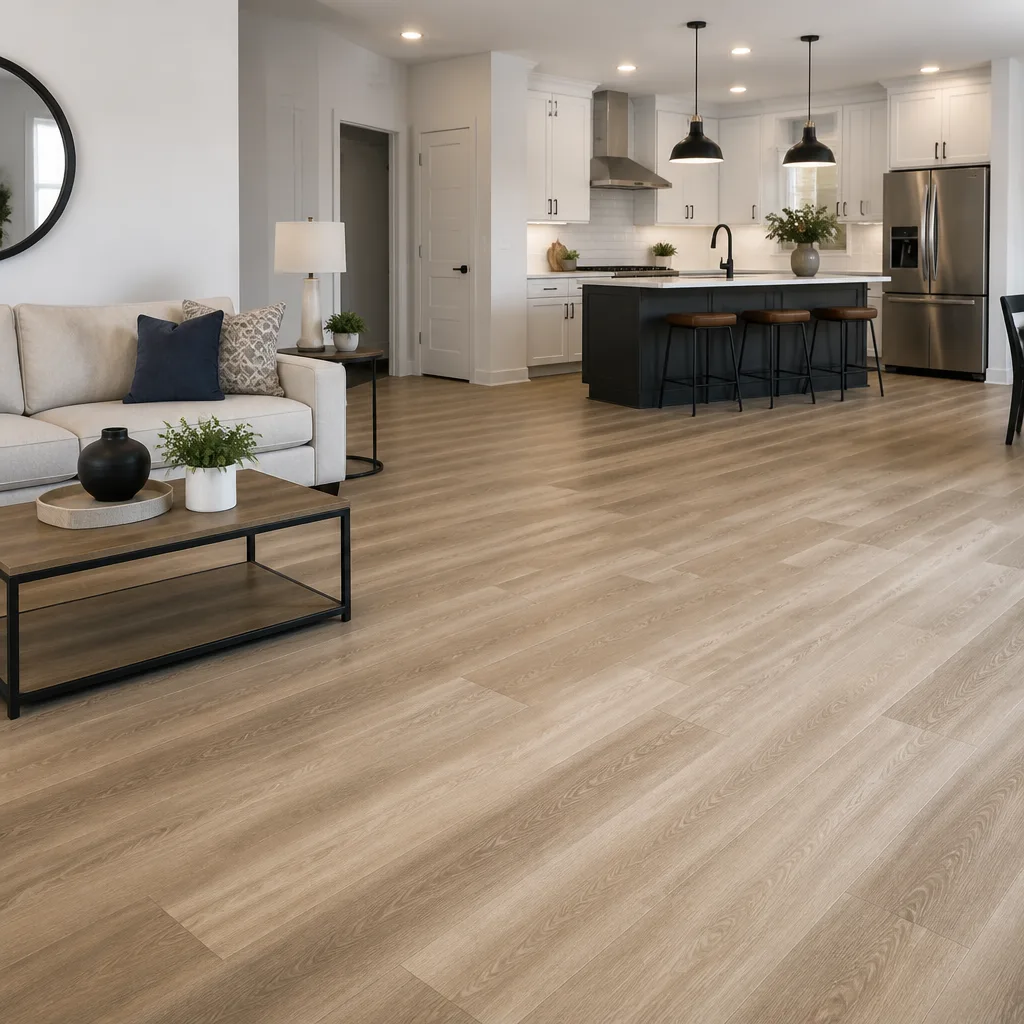 Luxury vinyl plank
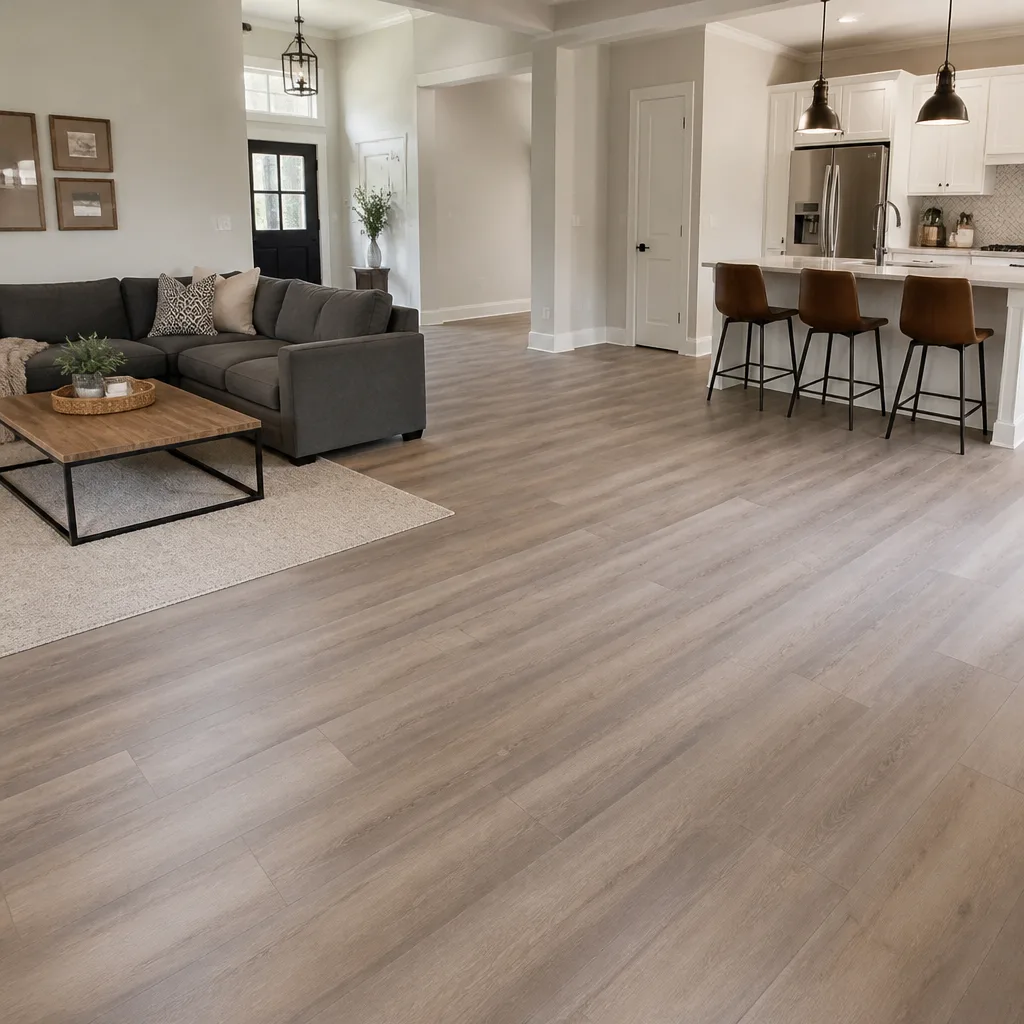 Laminate
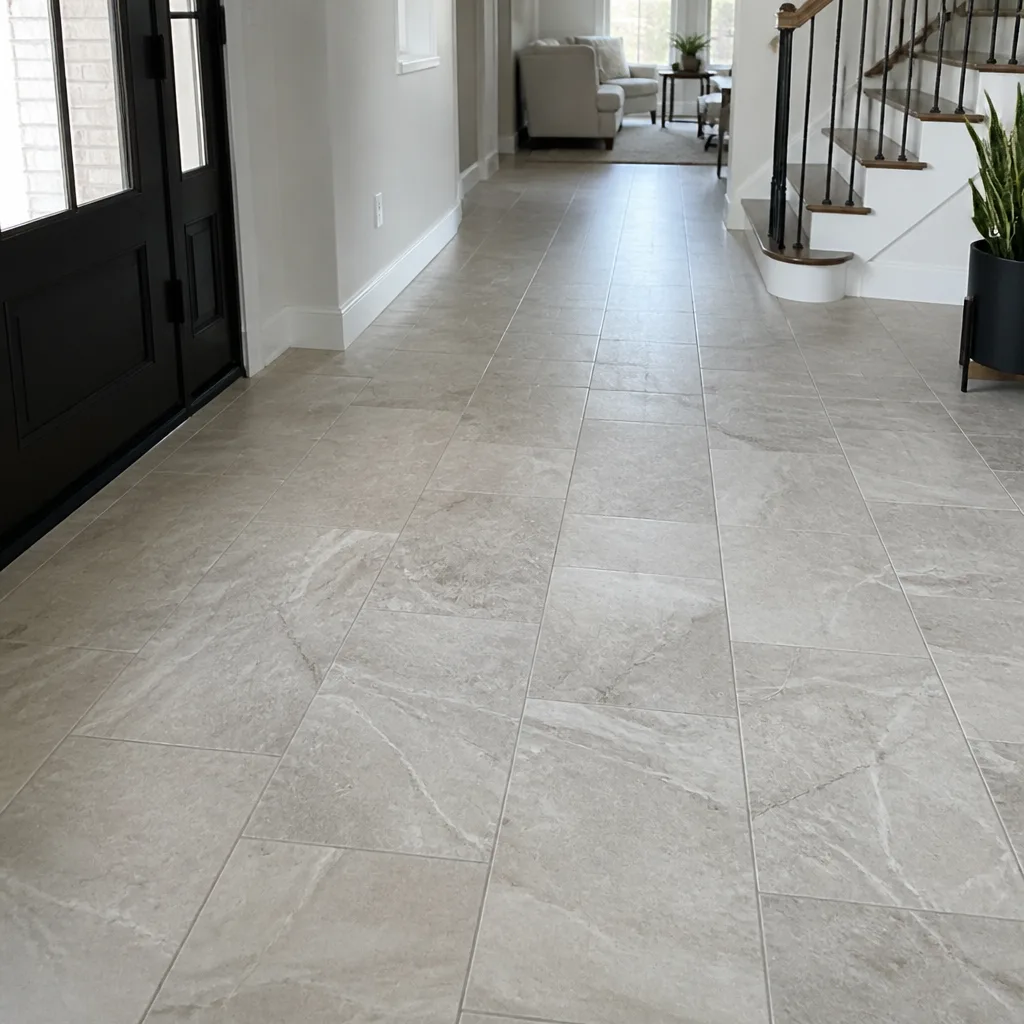 Porcelain tile
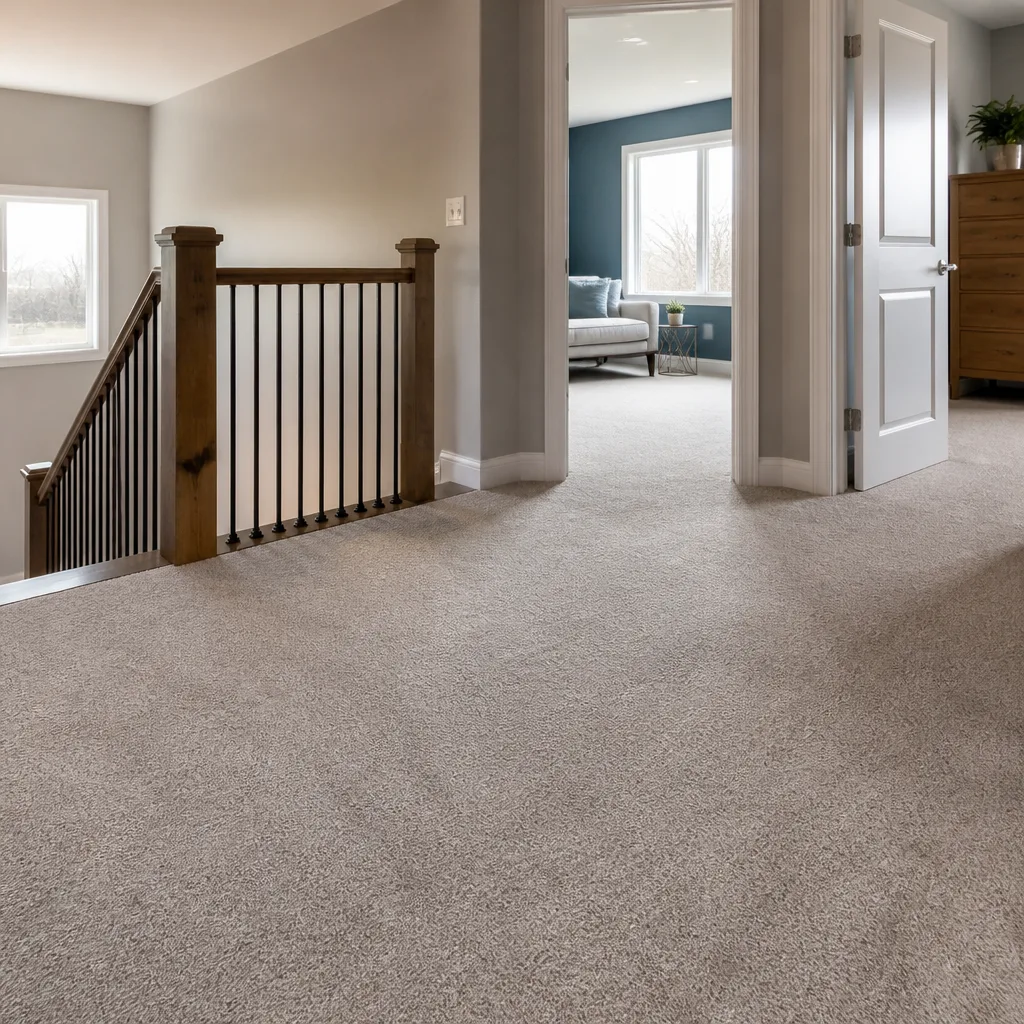 Carpet
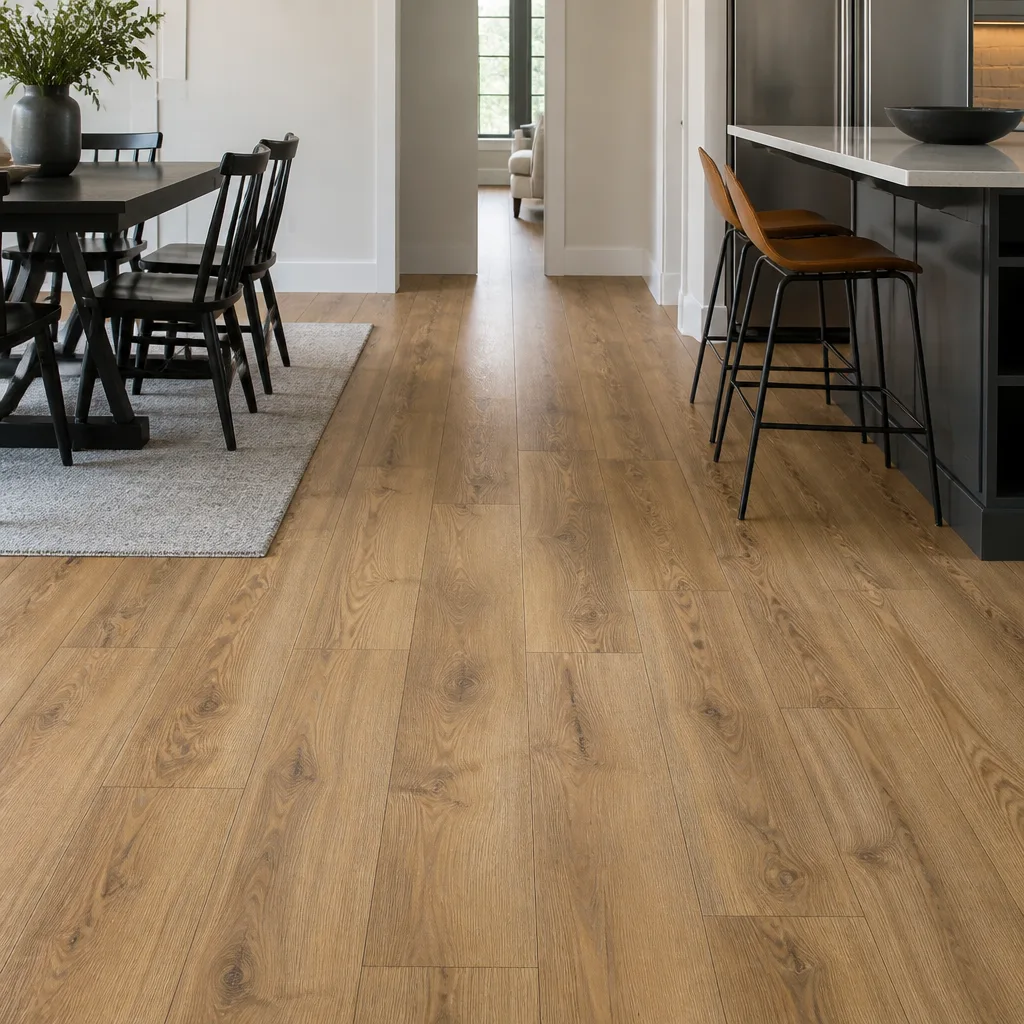 Shaw
 Mohawk
 COREtec
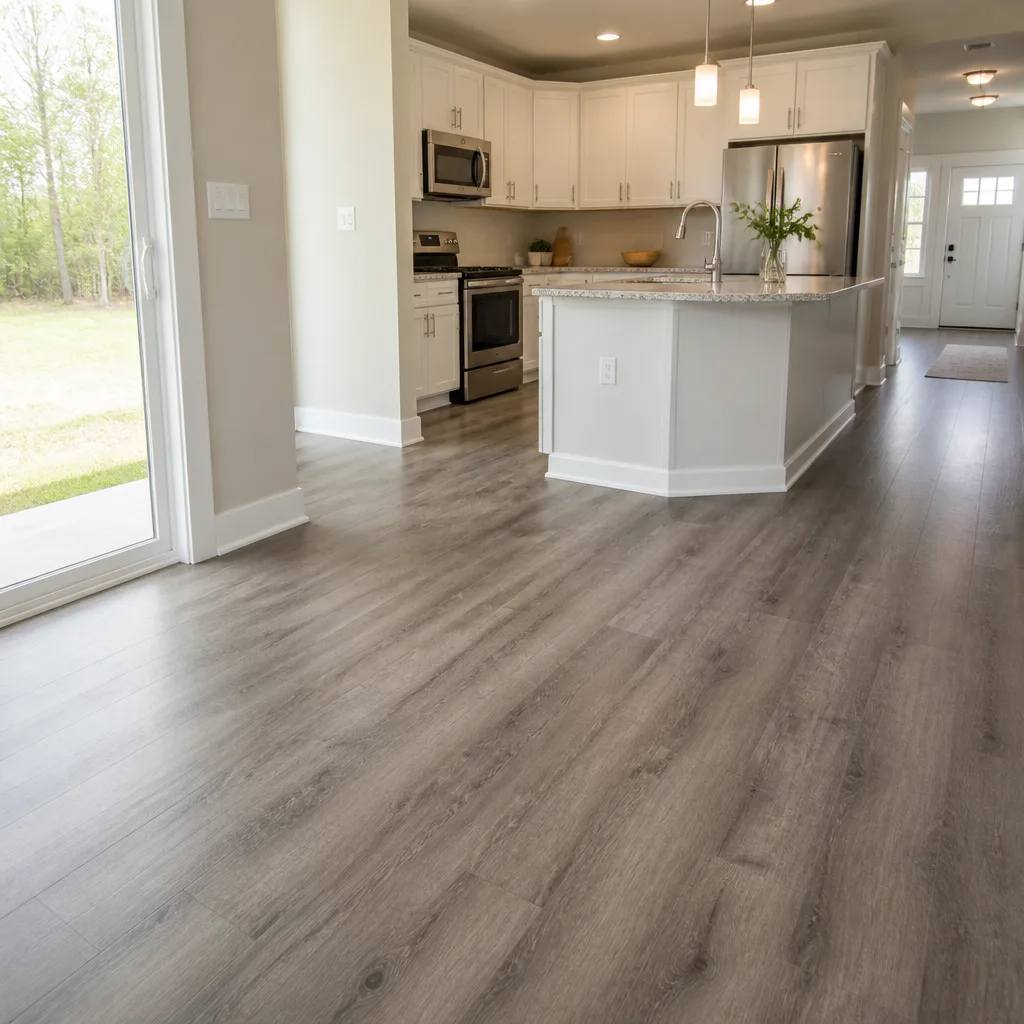 Pergo
Free in-home measure and written estimate: Shaw, Mohawk, COREtec and Pergo lines compared on your own rooms, with carpet, tile, vinyl plank, laminate and hardwood laid out side by side
Get your free estimateSubfloors Explained: What Sits Under Your New Floor
Most flooring conversations start with the thing you’ll walk on. We’d rather start with the thing underneath it. In Summerlin homes built through the 1990s and early 2000s, concrete slabs are common, and plenty of them have surface irregularities that fall outside the flatness tolerances rigid luxury vinyl plank and tile manufacturers require. That fact rarely shows up in a budget quote. It shows up on demo day, when the old floor comes up and the slab underneath turns out to be crowned, dipped, or patched unevenly from an earlier remodel. What follows is a plain explanation of what a subfloor is, the two kinds you’ll find in Summerlin, how flatness differs from levelness, how to spot trouble before anything gets torn out, and what repair and leveling actually cost.
Quick Answer
The subfloor is the structural layer beneath your finished floor, and it’s either a concrete slab or a wood-framed assembly. Your new floor’s performance depends far more on that layer’s flatness, dryness and rigidity than on the wear layer of the product you choose. Tile and rigid plank need a flat surface; hardwood and engineered wood need a dry one. If the subfloor isn’t right, no brand saves the install.
Styles & brands we work with
- Hardwood
- Engineered hardwood
- Luxury vinyl plank
- Laminate
- Porcelain tile
- Carpet
- Shaw
- Mohawk
- COREtec
- Pergo
Table of Contents
- What a Subfloor Does That Your Finished Floor Can’t
- The Two Subfloors You’ll Find in Summerlin Homes
- Flatness vs. Levelness: The Difference That Decides Your Install
- How to Spot Subfloor Problems Before Demo Day
- Moisture in Concrete Slabs and What Mitigation Looks Like
- What Subfloor Repair and Leveling Actually Costs
- Why Budget Quotes Skip the Subfloor
- Common Mistakes to Avoid
What a Subfloor Does That Your Finished Floor Can’t
Your finished floor is a wear surface. It takes foot traffic, sunlight, dropped pans, pet claws, chair legs. The subfloor is the part that decides whether the wear surface has anything reliable to sit on. It carries load, spreads it across joists or slab, and provides the plane your flooring gets fastened or bonded to.
Manufacturers set tolerances for how flat and how dry that plane must be. When the plane is off, the finished floor doesn’t fail politely. Rigid plank clicks and pops at the joints because the panel is bridging a dip and flexing underfoot. Tile cracks along a grout line over a high spot. Hardwood cups or crowns because moisture is moving through the slab and into the wood from underneath. Carpet is more forgiving of minor variation, but it still telegraphs a bad seam or a proud joist through the pile.
What makes this matter in Summerlin is the housing stock. Homes from the 1990s and early 2000s were often built on slab with a fairly basic finish. Patches, old adhesive residue, a slight slope toward a floor drain, and the odd high spot from a patched trench are all normal. None of them are a crisis. All of them matter once you put a rigid product over them.
Here’s the part that separates a floor that lasts a decade from one that starts failing in two years: the subfloor is not the layer you upgrade later. It’s the layer you get right once.
The Two Subfloors You’ll Find in Summerlin Homes
Nearly every home in Summerlin falls into one of two categories, and the category drives what flooring you can install, how it gets installed, and what prep is required before anything goes down.
Concrete slab
Single-story homes and the ground floors of two-story homes here are typically slab-on-grade. You’re looking at a poured concrete surface that may have been finished smooth, broom-finished, or covered with a thin topping the builder used to level things out. Slab has real advantages: it’s rigid and it doesn’t move. It has real complications too. Concrete wicks moisture from the ground beneath it, it can hold small surface cracks, and it usually has some variation across a large room. Most Summerlin slab floors are perfectly workable. They just need to be assessed, not assumed.
Wood subfloor over framing
Second stories, some lofts and a portion of older construction sit on a wood-framed assembly: plywood or OSB sheathing over joists. Wood subfloors are more forgiving of a small dip and less forgiving of moisture and deflection. If a joist is undersized or the sheathing has gotten soft, you’ll feel it underfoot before you can see it.
What each means for flooring compatibility
- Tile and stone: tile is the least forgiving of subfloor movement. It needs a flat, stable, rigid surface, and on wood it needs an uncoupling layer or backer board. A tile flooring installation that skips the deflection check is the one that cracks a grout line six months in.
- Rigid luxury vinyl plank (COREtec, LifeProof, Karndean, Pergo): these want a flat surface and are sensitive to high spots and dips under the locking joints. They can go over most slab and wood subfloors, with the right underlayment and prep.
- Hardwood and engineered wood: the moisture conversation is the one that matters. Engineered products are more dimensionally stable than solid, but neither belongs on a slab that hasn’t been tested.
- Carpet: the most adaptable of the four, but still vulnerable to soft spots and proud fasteners. A carpet installation over a bad patch will telegraph every staple.
The trade-offs between solid and engineered wood are worth understanding before you pick a material at all. We help Summerlin homeowners weigh those on a room-by-room basis rather than picking a favorite and forcing every room to fit it.
Flatness vs. Levelness: The Difference That Decides Your Install
This is the concept that trips up nearly every homeowner we talk to, and it’s the one that changes the quote.
Level means the surface is parallel to the earth. A perfectly level floor has no slope across it. Flat means the surface has no high spots or dips when you lay a straightedge across it. A floor can be flat without being level (think a slightly pitched porch that’s still smooth), and it can be level without being flat (a cupped patch in a dead-flat room).
Tile and rigid plank care about flatness, not levelness. Tile setters will happily install over a floor that’s out of level, but they won’t install over a floor that’s out of flat. Rigid LVP behaves the same way. Manufacturers set a flatness tolerance, usually expressed as a variation allowed over a set distance, and the product instructions carry the number. That tolerance is what matters, and it’s what we check with a straightedge and a gauge during the estimate.
Why it matters specifically for Summerlin homes
Slab-on-grade construction from the 1990s and early 2000s often has a subtle dish or crown in the middle of a large room. Carpet hides it completely. The moment you pull the carpet up and lay rigid plank or tile, that same variation becomes the difference between a floor that clicks together cleanly and one that rocks underfoot at every joint. If you’ve been looking at a rigid plank product because you like the idea of a tough, moisture-resistant floor, that’s the right instinct. Still, we’ll tell you honestly that the slab underneath will shape how the install unfolds. Karndean rigid core products and other plank lines have real specific tolerance requirements, and it’s part of the estimate visit to verify them.
In our experience, a straightedge check across the whole room takes fifteen minutes and it saves a lot of grief. You want to know before demo.
How to Spot Subfloor Problems Before Demo Day
You can’t see through your finished floor, but you can read it. These are the signals that tell us a subfloor is worth deeper inspection before a quote is finalized.
- Listen for sound differences underfoot. Walk the room in socks. A hollow or higher-pitched tone usually means a small air gap under the floor, common where a slab has a dip or where wood sheathing is lifting. A duller thud with softness beneath it is a different problem entirely.
- Feel for soft spots. Press your weight into the floor at the base of a doorway, in front of the sink, near an exterior wall. If the floor gives, or feels springy, the subfloor has lost some integrity. On wood that usually means moisture damage. On slab it’s more often a void in the topping.
- Watch the existing floor for visible seams and telegraphing. If you can see or feel the panel seams of the old floor underneath, or if a grout line has cracked along a straight path (not at a corner), the subfloor is probably crowned or moving. A single crack is often just stress. A repeating pattern along the same line is the subfloor talking.
- Look at any exposed slab surfaces. In a garage, closet or basement, look at the slab for white powdery staining, dark patches, or a powdery coat that brushes off. These suggest moisture is moving through the concrete.
- Check for loose tile or a “drummy” sound. Tap a tile with a coin. If it rings hollow compared to its neighbors, the tile has lost bond to the surface underneath, which usually means the subfloor is moving or the original prep was thin.
- Ask about any prior renovation. If a previous owner patched, moved a wall or re-poured a section of slab, that patch may or may not be flat and may not have the same finish as the rest of the room.
None of these signals is a verdict. They’re the reasons to bring someone out who can measure rather than guess. If your existing floor is Flooring Summerlin territory, this pre-check is what we do during a free estimate before we write a number.
Moisture in Concrete Slabs and What Mitigation Looks Like
Concrete is porous. It looks solid, it feels solid, and it holds moisture like a sponge, even in a desert climate. The moisture can come from beneath the slab (ground water, irrigation, poor drainage) or it can come from curing if the slab is newer. What matters is whether that moisture is moving upward into your finished floor.
Hardwood and engineered wood are the most sensitive to this. When moisture vapor rises through a slab and reaches wood, the wood absorbs it from below, swells, and cups or crowns. Tile can lose bond or pop. Rigid plank with a vapor barrier is more resilient, though any floor sitting over ongoing moisture will eventually show it.
How to test for it
The right test depends on the home and the slab. A moisture test on concrete is a specific method, not a guess, and it’s done at the estimate visit or shortly after. For a slab that’s exposed and ready, there are two standard ways to assess moisture vapor emission, and both require a technician on site. We’ll tell you which one the product manufacturer accepts for the product you want, because the product instructions set that requirement, not us. The point is that testing happens before installation, not after a floor starts to move.
What mitigation looks like
If a slab tests dry enough, no mitigation is needed. If it doesn’t, there are a few standard approaches:
- A vapor barrier under the flooring system, typically a membrane designed to resist moisture vapor, installed per product instructions.
- A topical coating or sealant on the slab that reduces moisture transmission.
- A subfloor system or underlayment that decouples the finished floor from direct contact with the slab.
The right choice depends on the floor you’re installing, the moisture reading, and what the manufacturer’s installation instructions call for. Tile installation over a tested slab under a proper underlayment is a different conversation than hardwood over the same slab. If you’re considering Summerlin homes with engineered wood, don’t let a quote skip the moisture testing step. That’s the step that determines whether the floor you buy is still installed correctly a decade from now.
What Subfloor Repair and Leveling Actually Costs
Subfloor prep is priced as a line item, separately from the flooring itself, because it’s specific to your home. Two rooms of the same square footage can have wildly different prep requirements. We can’t hand you a fixed number without seeing the slab, but here’s roughly how the components break down in a Summerlin flooring project.
| Work | What it involves | Typical cost |
|---|---|---|
| Subfloor inspection & moisture testing | Straightedge check, moisture assessment for wood or engineered installs | Included in the estimate visit |
| Minor leveling / patching | Fill a small dip, patch surface cracks, spot-level a high point over a limited area | $3 to $8 per square foot of the affected area |
| Full room self-leveling | Pour a leveling compound over the full footprint of a large room or ranch-style living area | $4 to $9 per square foot of the room |
| Vapor mitigation | Vapor barrier or topical moisture treatment when the slab tests damp | $2 to $6 per square foot |
| Wood subfloor repair | Replace soft sheathing, re-secure joists, address deflection found at inspection | By scope; quoted after inspection |
The material from these brands also has a cost range that depends on which of the nine we recommend for the room. The prep line item usually lands somewhere between 5% and 15% of a typical project, and it’s the line item that determines whether the rest of the money is well spent.
A quote that doesn’t include a subfloor line item has one of two problems: it skipped the inspection, or it priced the prep as an “if needed” surprise later. Neither is dishonest at the estimate stage. Both become expensive if they surface during installation. Our written estimates set the final price, and we’re clear about what’s included and what’s contingent on findings.
Why Budget Quotes Skip the Subfloor
The simplest answer is that subfloor work is harder to sell because it’s invisible. A homeowner can see a floor. They can see a brand name. They can’t see a flat, damp-tested slab underneath, so it feels like a cost without a benefit. Competitors who want the job will quote the flooring and skip the prep to land a lower number. It works because the failure they’re setting up won’t materialize for two years, and by then the job is over.
There’s a second reason: subfloor prep is its own trade. It’s not flooring installation exactly, it’s the sequence that comes before. Companies that specialize in flooring do this constantly and know what each product requires. General remodeling crews working through a long punch list may not know that rigid LVP and tile have different tolerance requirements, or that engineered hardwood over a slab at a moisture reading above threshold is a bad idea. Nine years of specific flooring experience tells you what to look for that a generalist might miss.
Summerlin has its own wrinkle too. Homes built here in the 1990s and 2000s were done fast, and the slabs reflect that. A lot of them have acceptable flatness in most of the room and one high spot where the finish topping was troweled uneven. The right answer for that high spot is prep, not a “just install it and see” approach. That’s the part of a flooring project where an honest quote diverges from a cheap one, and it’s not because the honest one is trying to inflate a bill.
If you’re installing across multiple rooms, as a lot of our customers are when they’ve outgrown a piecemeal approach, the prep conversation gets bigger but also simpler. One estimate visit, one flatness chart of the home, one plan. That’s the difference between a flooring specialist and a flooring department inside a general warehouse.
How We Approach a Subfloor Problem in a Summerlin Home
It helps to see what the sequence actually looks like, because it explains why a flooring project on a slab is more than selecting a product and booking a day.
- Free estimate visit. We measure the rooms, walk the existing floors, identify any curves, high points or hollow spots, and take straightedge readings where the finished floor will go.
- Determine subfloor type and condition. Concrete or wood, rigid or soft, patched or original. This tells us what each candidate flooring material can and can’t accept.
- Test for moisture if the candidate product is wood or engineered, or if the slab shows any sign of dampness.
- Scope the prep. Flatness corrections, patching, leveling, vapor mitigation, or wood subfloor repair, each itemized.
- Match the product to the substrate. A Shaw engineered wood might be the right call for a wood subfloor, while a COREtec rigid plank over a prepped slab fits another room. Nine brands give us real options without forcing a product onto a substrate that won’t accept it.
- Written estimate. Subfloor prep itemized, flooring itemized, and a clear note on what’s contingent on the actual demo-day findings. No surprises.
- Scheduled installation. The schedule and any sequencing is set at the estimate, not promised on the phone.
That’s the same approach whether we’re installing tile with Daltile porcelain or refinishing an existing hardwood floor. We don’t do flooring repair as a standalone service, so the hardwood refinishing piece is where the “refinish before you replace” advice really lives. If the wood subfloor in a bathroom or hallway is in good condition and it’s the finish that’s worn, restoring it is often the smarter spend than pulling it up and starting fresh.
Common Mistakes to Avoid
- Treating prep as an optional line item. If a quote doesn’t include a subfloor inspection, that’s not a deal, it’s a deferred cost. Ask specifically how flatness was checked and what the findings were.
- Assuming flat and level are the same thing. A Summerlin slab that’s out of level but flat is fine for rigid plank and tile. A slab that’s level but has a 1/4-inch dip will cause a clicking or cracking problem within a year.
- Choosing rigid LVP or tile before checking the substrate. The product should follow the substrate, not the other way around. If your room has significant variation under it, a different product may be the better call, and the right product is one of nine we can source.
- Skipping moisture testing on a slab before wood or engineered installs. This is the most expensive skip on this list because it damages the product from underneath, where you can’t see it in time to save the floor.
- Ignoring a hollow feel under the existing floor. If your floor sounds hollow or feels soft, don’t demo it and hope the subfloor is fine. Know what’s underneath before the removal begins.
- Accepting a quote with no written scope for the subfloor. “We’ll deal with it” isn’t a budget. Ask for the line item, the method and the contingency.
- Letting a patio or exterior drainage problem persist. In a Summerlin climate, irrigation and monsoon runoff can both drive moisture toward a slab edge over time. If drainage near the home is pooling against a slab-on-grade wall, that’s a subfloor moisture conversation waiting to happen.
See the difference
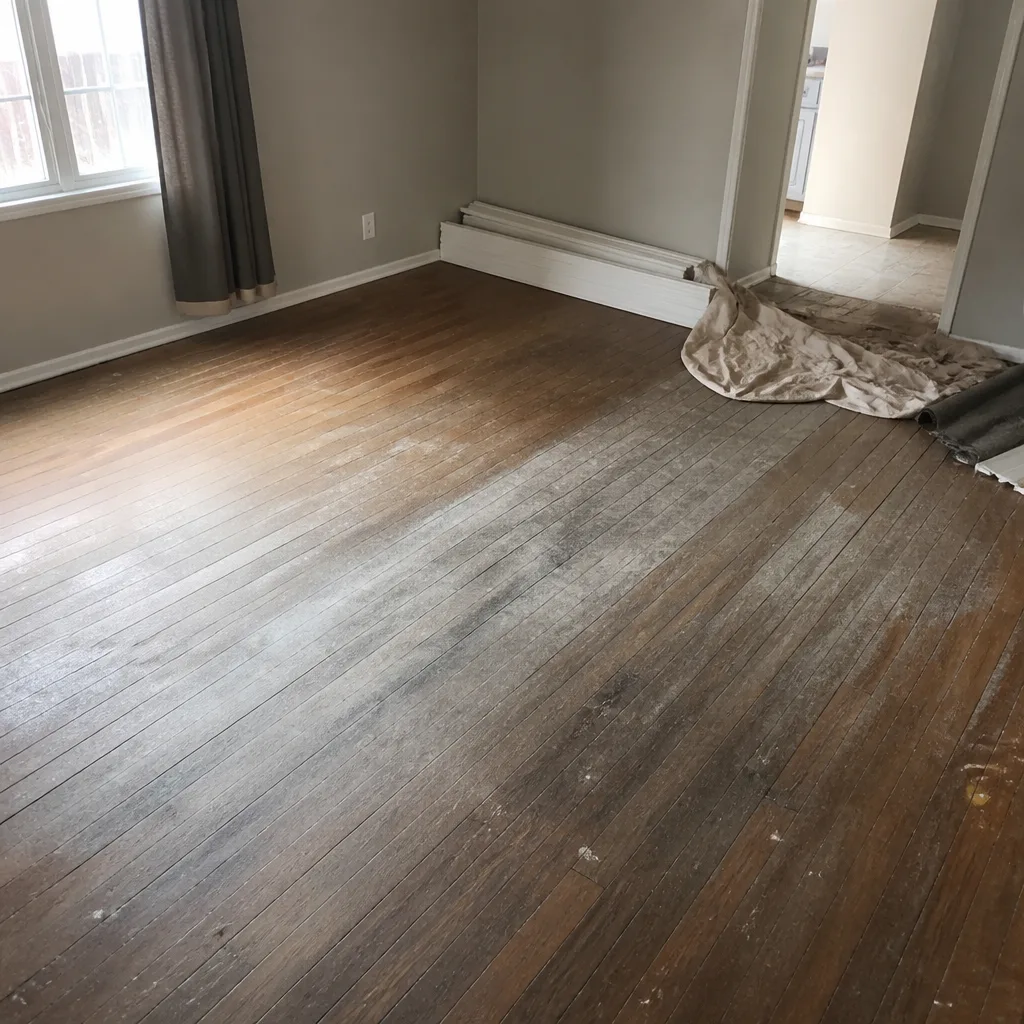 Before
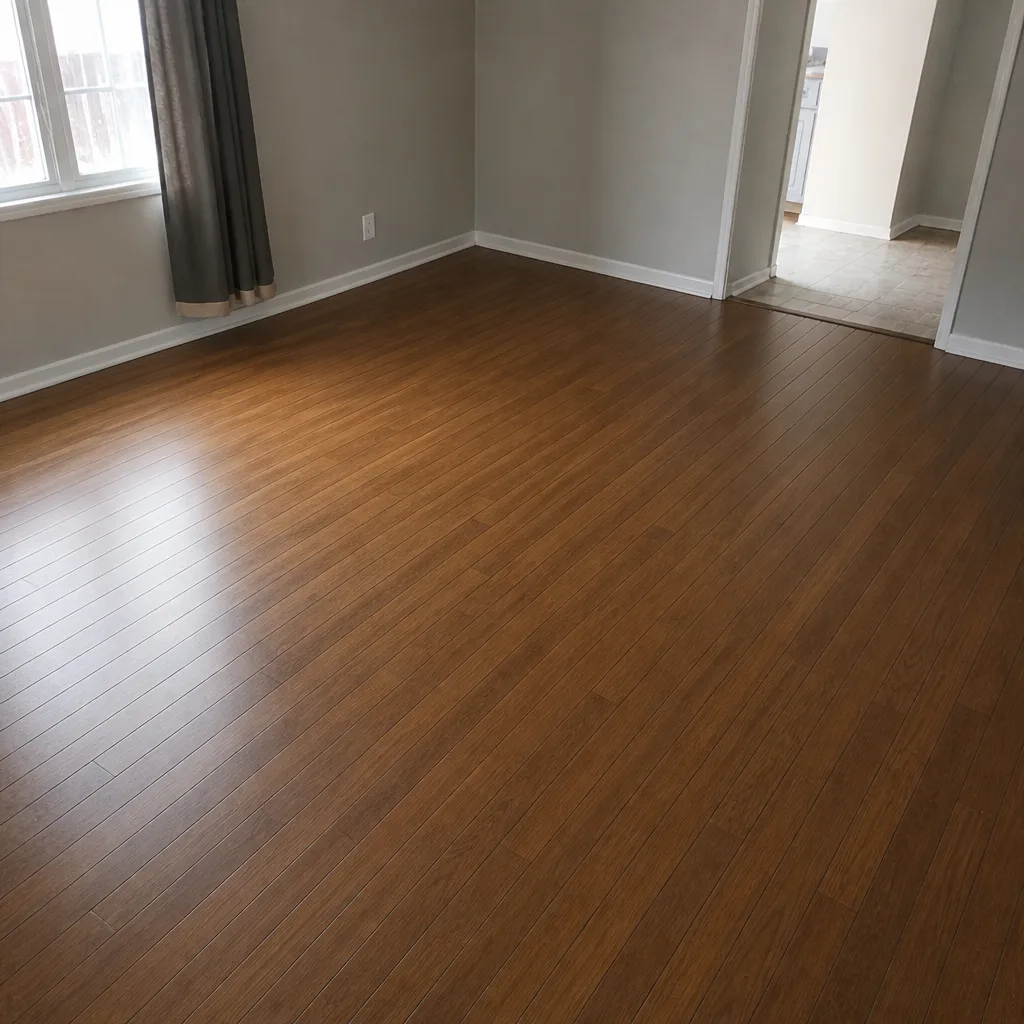 After
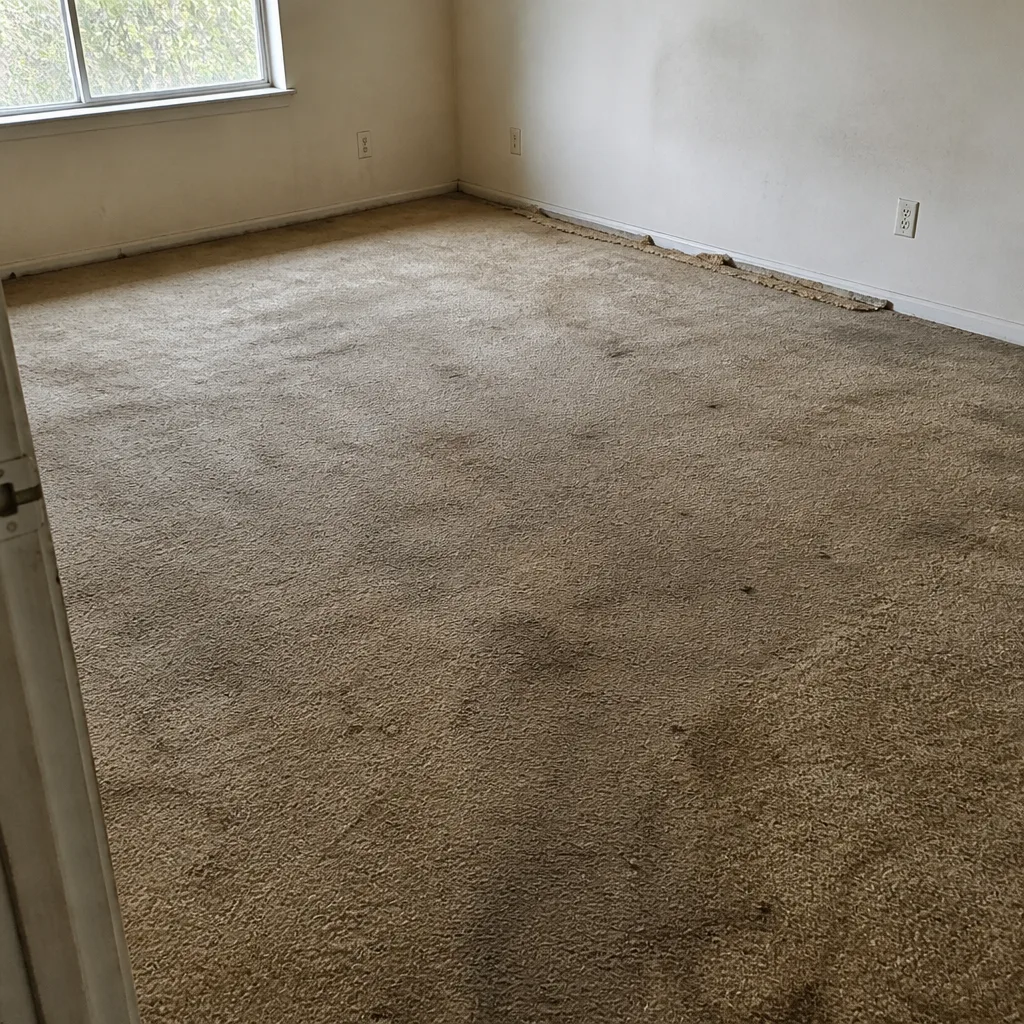 Before
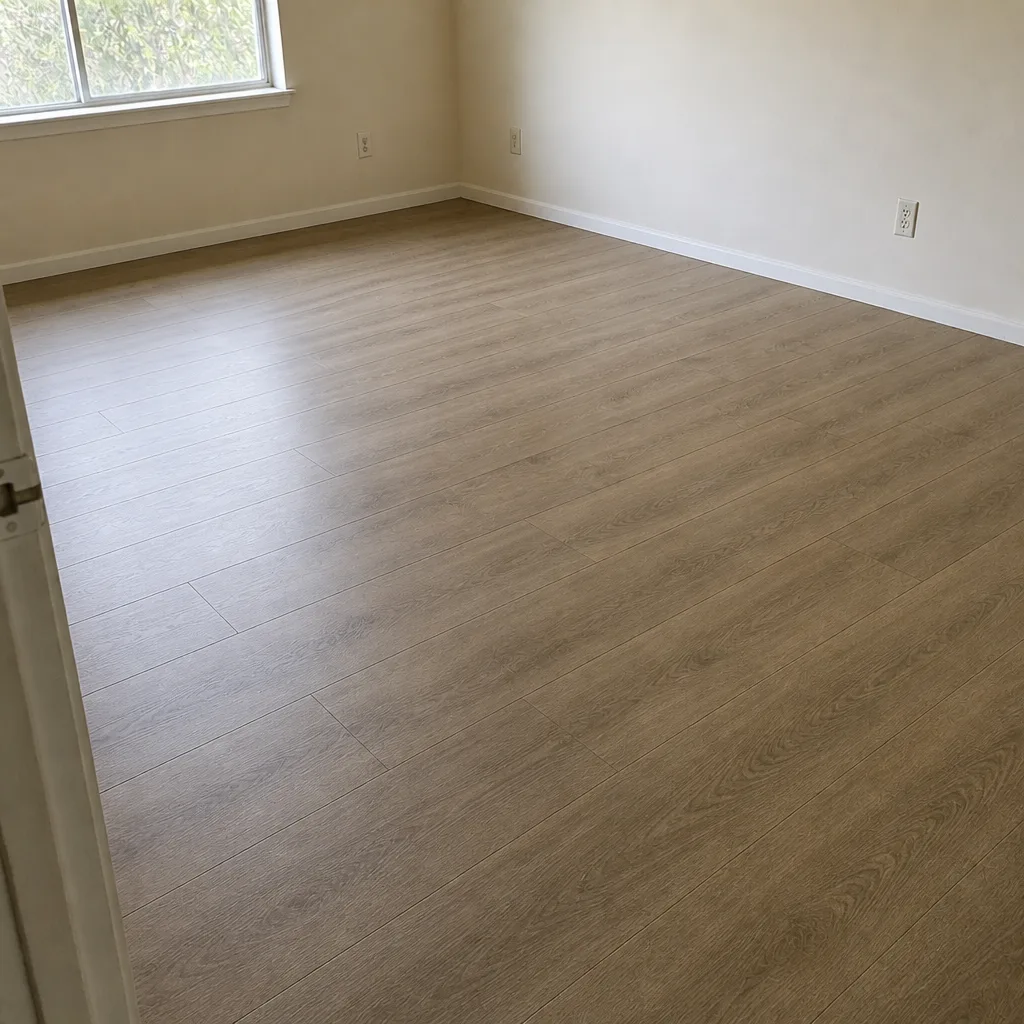 After
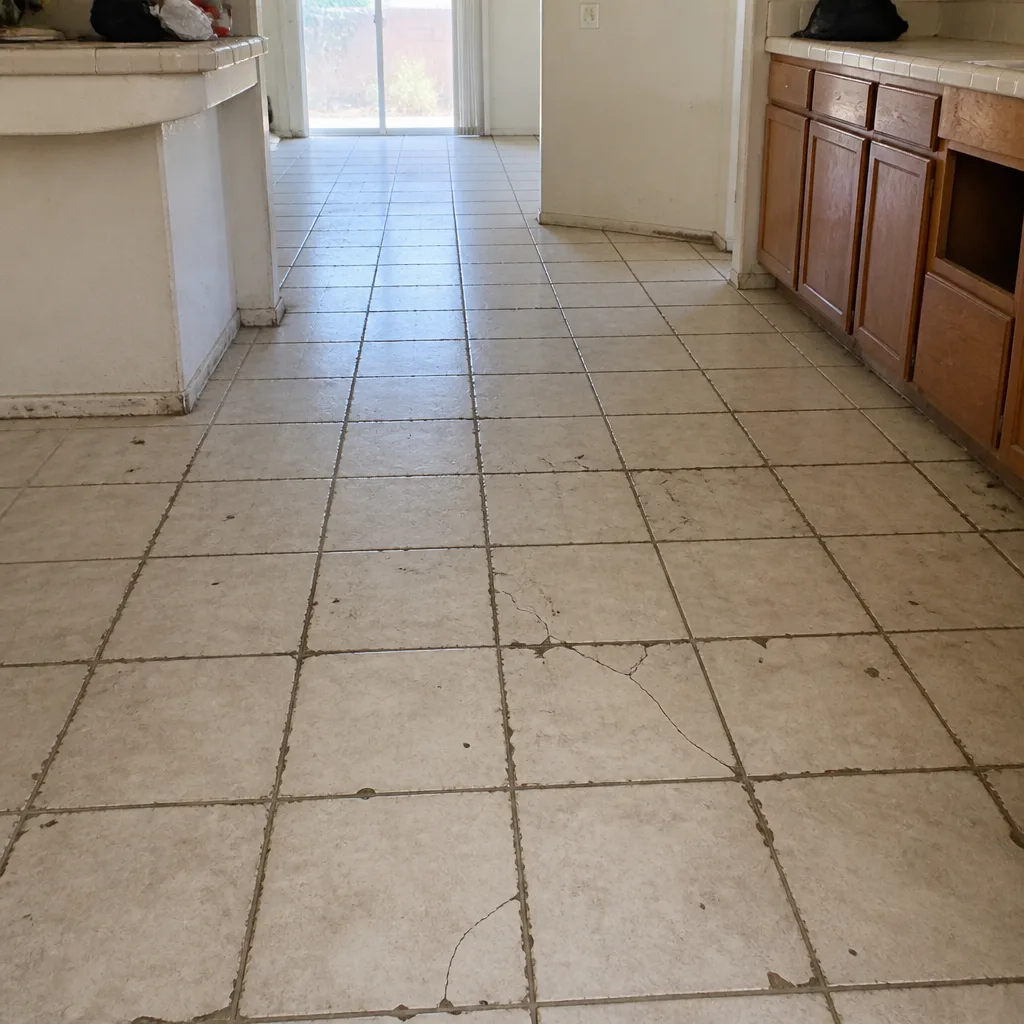 Before
 After
When to Call a Professional
You should call a professional when the subfloor condition affects the product you want to install, and that’s a judgement call you shouldn’t make from a product box. The specific situations worth a visit: any floor that feels soft or hollow, any visible pattern of cracks or telegraphing through an existing floor, a slab that looks powdery or damp in an exposed area, wood subfloor softened by an old leak, and any room where you want rigid plank or tile over a surface you can’t see. Those are the cases where the prep line item determines the outcome. If you’re planning a whole home project and multiple flooring materials are part of it, a single professional assessment is worth the stop.
Flooring Summerlin offers free estimates in Summerlin. Call (844) 320-6715 to schedule yours. We answer 24/7. Fast dispatch from 7am to 7pm, Sunday through Friday.
Frequently Asked Questions
Sometimes yes, sometimes no. Concrete is itself a subfloor, and many slabs are ready for flooring directly once flatness and moisture are checked. What you may need is prep: a leveling layer to correct a dip, a vapor barrier if the slab tests damp, or patching where a previous installation left residue. The answer comes from the estimate visit, not the product packaging.
Walk it and read the existing floor. Hollow tones, soft spots, cracks that run in a straight repeating line, and any grout line that’s cracked along the same path are all signals. But flatness is measured with a straightedge and a gauge, not by eye, so a professional reading is the real answer. Manufacturers set a specific tolerance, and it’s the one we check against during the estimate.
Leveling makes a surface parallel to the earth. Flattening removes high spots and dips. Tile and rigid plank care about flatness; hardwood and engineered care about flatness and moisture. Most of what a Summerlin home needs is flattening, not full leveling, and full leveling is often an unnecessary expense on a slab that only has one low spot.
In some cases, yes, and in some cases it has to be scheduled with the installation. Subfloor prep and the flooring installation are coordinated to prevent the surface from getting damaged between visits. We schedule that order at the estimate, and we don’t quote them as disconnected projects.
Minor patching typically runs $3 to $8 per square foot of the affected area. Full-room leveling runs $4 to $9 per square foot. Vapor mitigation, when needed, is $2 to $6 per square foot. Those figures are typical estimates, not exact prices; the written estimate on your home sets the final number after the visit.
If your choice is Shaw, Mohawk, COREtec, Pergo, LifeProof, Mannington, Armstrong, Daltile or Karndean, we can source it and install it. That’s nine product lines across carpet, tile and hardwood under one specialty. If you’re still deciding, the substrate under your floor should be the first filter, not the last.
Call (844) 320-6715 for an exact scope. Estimates are free.
The Bottom Line
The subfloor is the layer that determines whether a new floor holds up or starts failing, and it’s the layer most quotes skip. In Summerlin, that means assessing whether you’re on a slab or wood subfloor, checking flatness (not levelness) before tile or rigid plank goes down, testing for moisture before wood or engineered wood goes down, and pricing prep as an honest line item. Flat, dry, stable and rigid are the four things a subfloor has to be. If you’re weighing a project and you want the subfloor side of it handled correctly, start with the estimate, not the product.
To schedule a free estimate, call (844) 320-6715. We answer 24/7. Fast dispatch from 7am to 7pm, Sunday through Friday.
Written by the team at Flooring Summerlin.